> ## Documentation Index
> Fetch the complete documentation index at: https://flowdrop.mintlify.site/llms.txt
> Use this file to discover all available pages before exploring further.
# Configuring endpoints
> Tell FlowDrop where your backend API lives so it can load nodes, save workflows, and more.
**What you'll learn**
How to configure the API endpoint so FlowDrop knows where to send requests for
loading nodes, saving workflows, and executing pipelines.
In Step 1 the canvas was empty because nothing was serving it data. Here you'll
point the editor at a backend — and run a real one — so it can load nodes into
the sidebar and save your work. This is the step that turns a blank canvas into a
working editor.
## Why endpoints matter
FlowDrop is a **frontend editor** that talks to a **backend API** for things like:
* Loading available node types and categories
* Saving and loading workflows
* Executing workflows and pipelines
* Managing playground sessions
Without an endpoint configuration, the editor can render a canvas, but it can't load nodes into the sidebar or persist any data. This is why Step 1 showed an empty canvas — there was no API to fetch nodes from.
## The `createEndpointConfig` helper
FlowDrop provides a helper that generates a full endpoint configuration from a single base URL:
```js highlight={6} theme={null}
import { mountFlowDropApp } from '@flowdrop/flowdrop/editor';
import { createEndpointConfig } from '@flowdrop/flowdrop/core';
import '@flowdrop/flowdrop/styles';
const app = await mountFlowDropApp(document.getElementById('editor'), {
endpointConfig: createEndpointConfig('/api/flowdrop'),
height: '100vh'
});
```
The `createEndpointConfig('/api/flowdrop')` call sets up paths for all API operations under that base URL.
| Operation | Endpoint |
| ---------------- | ------------------------------------------- |
| List nodes | `GET /api/flowdrop/nodes` |
| List categories | `GET /api/flowdrop/categories` |
| Port config | `GET /api/flowdrop/port-config` |
| Save workflow | `PUT /api/flowdrop/workflows/{id}` |
| Create workflow | `POST /api/flowdrop/workflows` |
| Execute workflow | `POST /api/flowdrop/workflows/{id}/execute` |
| Health check | `GET /api/flowdrop/health` |
It also configures sensible defaults: a 30-second timeout and automatic retries with exponential backoff.
## Run a backend
A config that points at nothing won't load nodes or save anything. The fastest
way to get a **real** endpoint is the reference Express server that ships with
FlowDrop (`apps/example-server-express` in the repo). It implements the full API —
nodes, categories, port config, and workflow CRUD — backed by in-memory demo
data, so you have something live to develop against in seconds:
```bash theme={null}
cd apps/example-server-express
pnpm install
pnpm dev
```
It starts on **`http://localhost:7104`** and serves the API under
`http://localhost:7104/api/flowdrop`. Open that root URL in a browser to see
every endpoint it exposes.
## Point the editor at it
Your editor (say, Vite's `http://localhost:5173`) and the API
(`http://localhost:7104`) are different origins. The cleanest fix — and the one
that mirrors production, where the two are usually same-origin — is a dev proxy,
so the relative `/api/flowdrop` from `createEndpointConfig` just works:
```js vite.config.js highlight={8,9} theme={null}
import { defineConfig } from 'vite';
import { svelte } from '@sveltejs/vite-plugin-svelte';
export default defineConfig({
plugins: [svelte()],
build: { target: 'es2022' },
server: {
// Forward API calls to the example server.
proxy: { '/api': 'http://localhost:7104' }
}
});
```
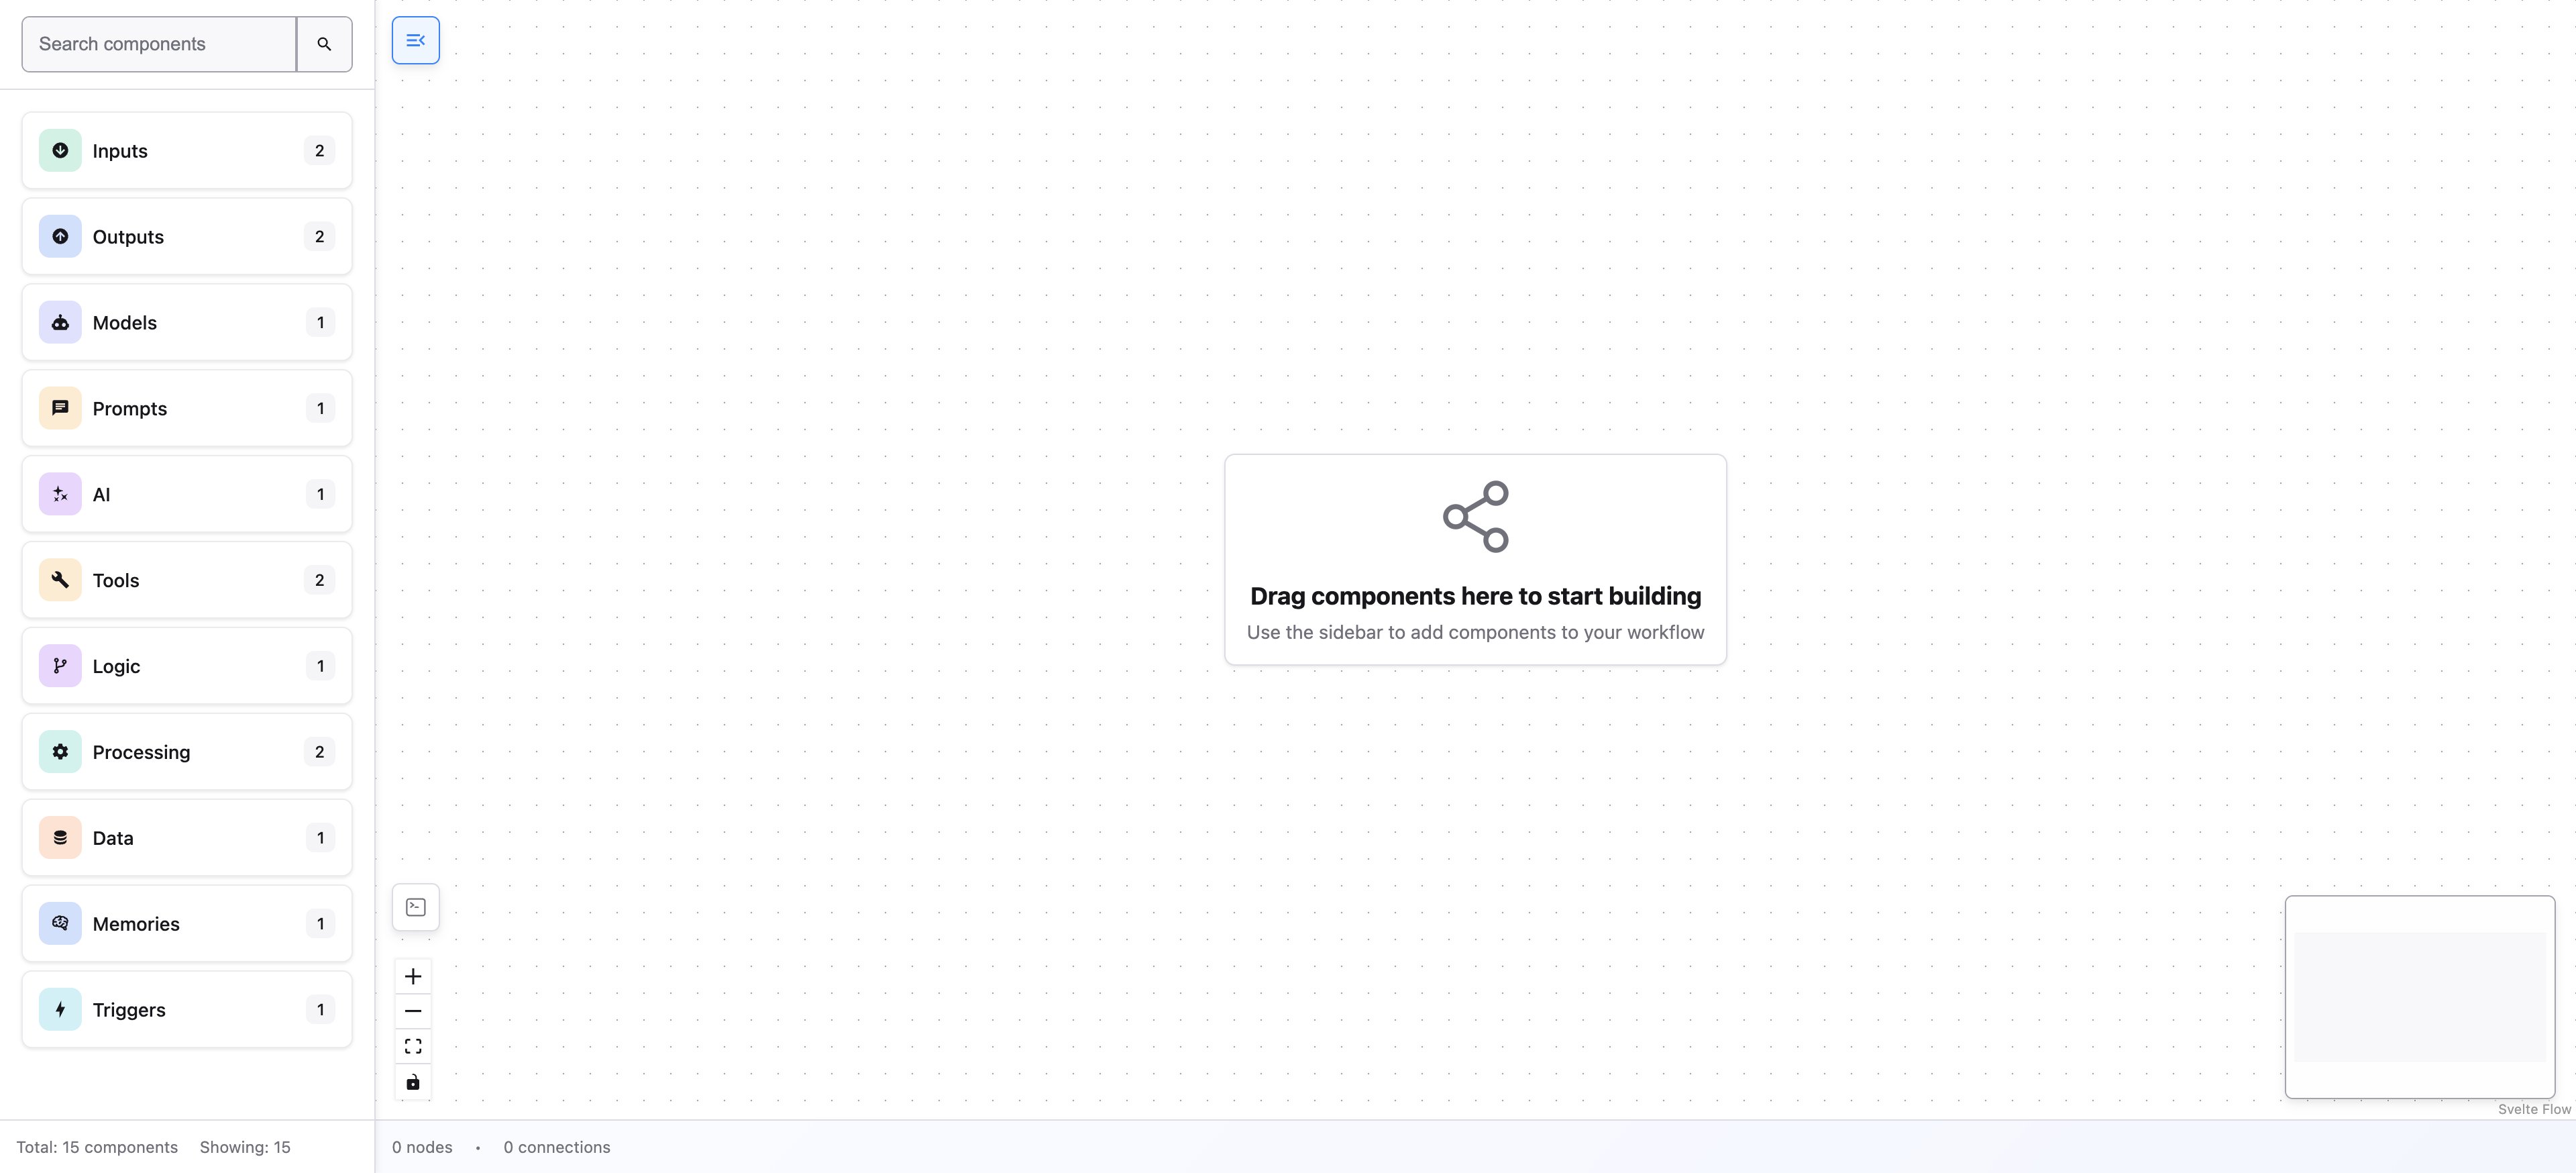
With both servers running, reload the editor — the sidebar now fills with the
node types served by your backend. The endpoint is live, and **Save** persists to
it.
 Don't want a proxy? Point `createEndpointConfig` straight at the absolute URL
instead — the example server enables CORS:
```js theme={null}
createEndpointConfig('http://localhost:7104/api/flowdrop')
```
## Customizing endpoints
You can override individual settings by passing a second argument:
```js theme={null}
const endpointConfig = createEndpointConfig('/api/v2/flowdrop', {
timeout: 60000,
retry: {
enabled: true,
maxAttempts: 5,
delay: 2000,
backoff: 'exponential'
}
});
```
**A backend is what makes the editor useful.**
You *can* mount it without one — it renders the canvas and only calls the API
when an action (load, save, execute) fires. But until an endpoint is reachable
it has no nodes to place and nothing to save, so start the example server above
to see FlowDrop actually do something.
## What's next
Now that the editor knows where the API lives, it's time to define your first node and see it appear in the sidebar.
***
**Tutorial — Step 2 of 5**
[← Embedding the editor](/tutorial/01-embedding-the-editor) · [Next: Your first node →](/tutorial/03-your-first-node)
Don't want a proxy? Point `createEndpointConfig` straight at the absolute URL
instead — the example server enables CORS:
```js theme={null}
createEndpointConfig('http://localhost:7104/api/flowdrop')
```
## Customizing endpoints
You can override individual settings by passing a second argument:
```js theme={null}
const endpointConfig = createEndpointConfig('/api/v2/flowdrop', {
timeout: 60000,
retry: {
enabled: true,
maxAttempts: 5,
delay: 2000,
backoff: 'exponential'
}
});
```
**A backend is what makes the editor useful.**
You *can* mount it without one — it renders the canvas and only calls the API
when an action (load, save, execute) fires. But until an endpoint is reachable
it has no nodes to place and nothing to save, so start the example server above
to see FlowDrop actually do something.
## What's next
Now that the editor knows where the API lives, it's time to define your first node and see it appear in the sidebar.
***
**Tutorial — Step 2 of 5**
[← Embedding the editor](/tutorial/01-embedding-the-editor) · [Next: Your first node →](/tutorial/03-your-first-node)