

What you’ll learnHow to install FlowDrop and mount a blank workflow editor canvas in your
application.
Set up a project
FlowDrop’s UI is built with Svelte 5, so your bundler needs the Svelte plugin to compile it — even though you won’t write any Svelte yourself. Here’s a complete, working Vite setup; it’s exactly what the runnable example (apps/tutorials/01-embedding-the-editor in the FlowDrop repo) uses.
1
Install
2
Configure Vite
vite.config.js
3
Add a container
index.html
SvelteKit users can skip the Vite steps.Using SvelteKit or another Svelte toolchain? The Svelte plugin is already
configured. React and Vue apps need the plugin just like vanilla JS
does.
Mount the editor
With the project set up, two imports in your entry file (src/main.js) are all
you need:
What mountFlowDropApp returns
The mount function returns a controller object you can use later:
The complete project
Once you’ve followed the steps above, your project has just four files. This is the whole thing — the runnableapps/tutorials/01-embedding-the-editor
example mirrors it exactly:
01-embedding-the-editor
src
main.js
index.html
vite.config.js
package.json
npm run dev (or pnpm dev) and open the printed URL. You’ll see the empty
editor canvas:
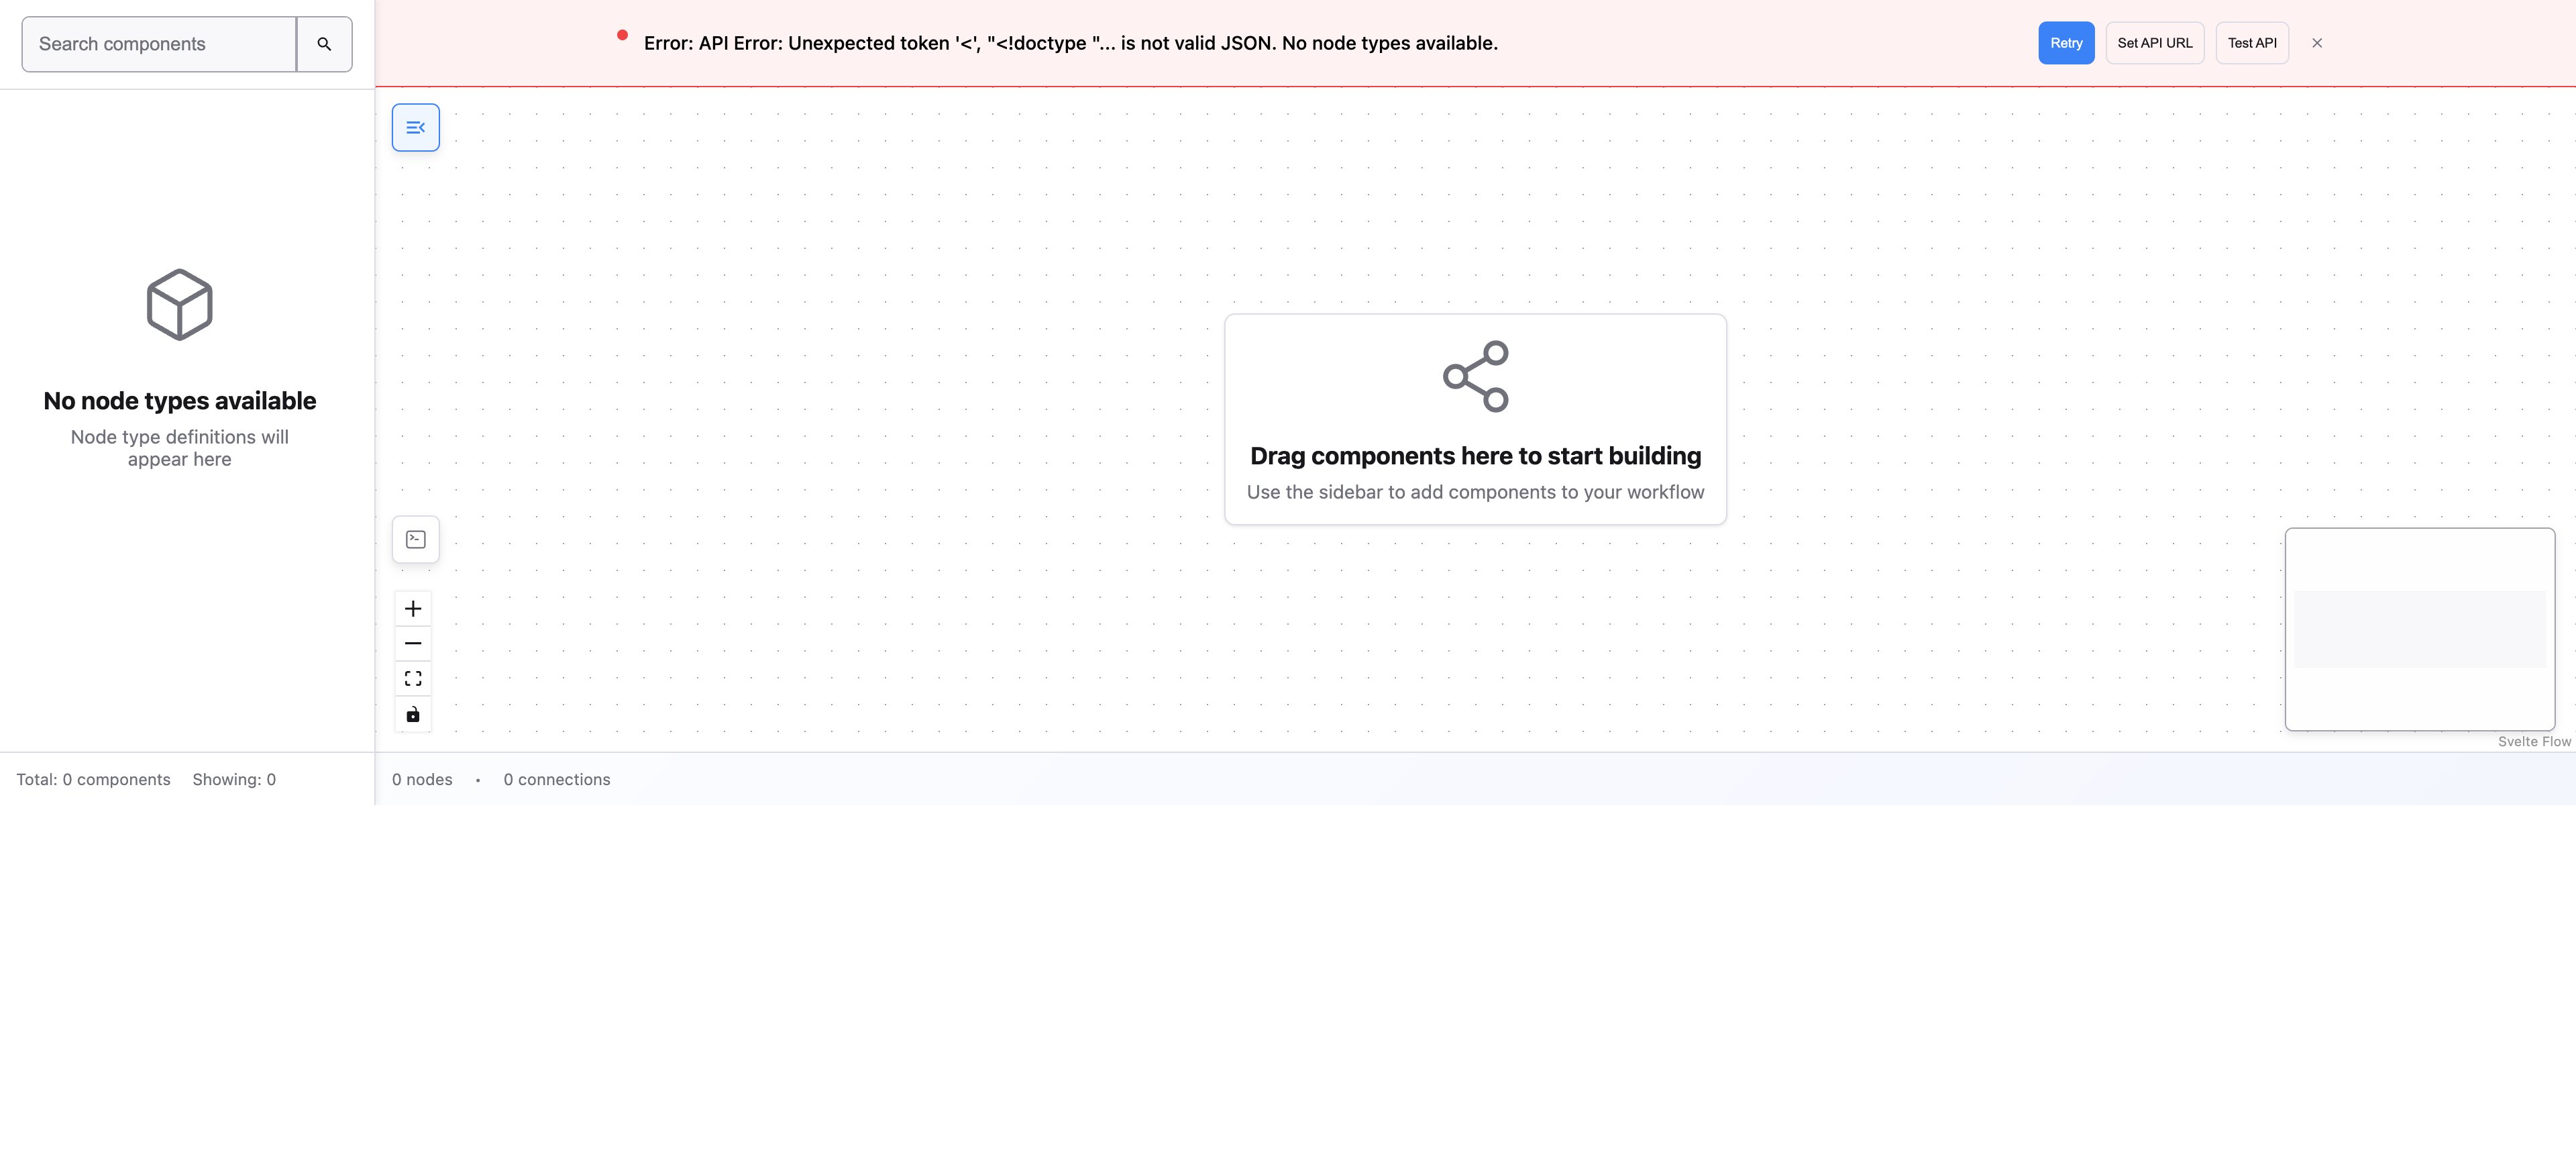
The blank FlowDrop editor mounted in a Vite app — a pannable, zoomable canvas with a grid background.
Using with Svelte
If you’re building a Svelte application, you can use theWorkflowEditor component directly:
What’s next
The editor is running, but there’s nothing to build with yet. Before adding nodes, you need to tell FlowDrop where your backend API lives.Tutorial — Step 1 of 5 Next: Configuring endpoints →