Adding nodes
Open the sidebar by clicking the menu button in the toolbar. The sidebar shows all available node types, organized by category. Drag any node from the sidebar onto the canvas to add it to your workflow.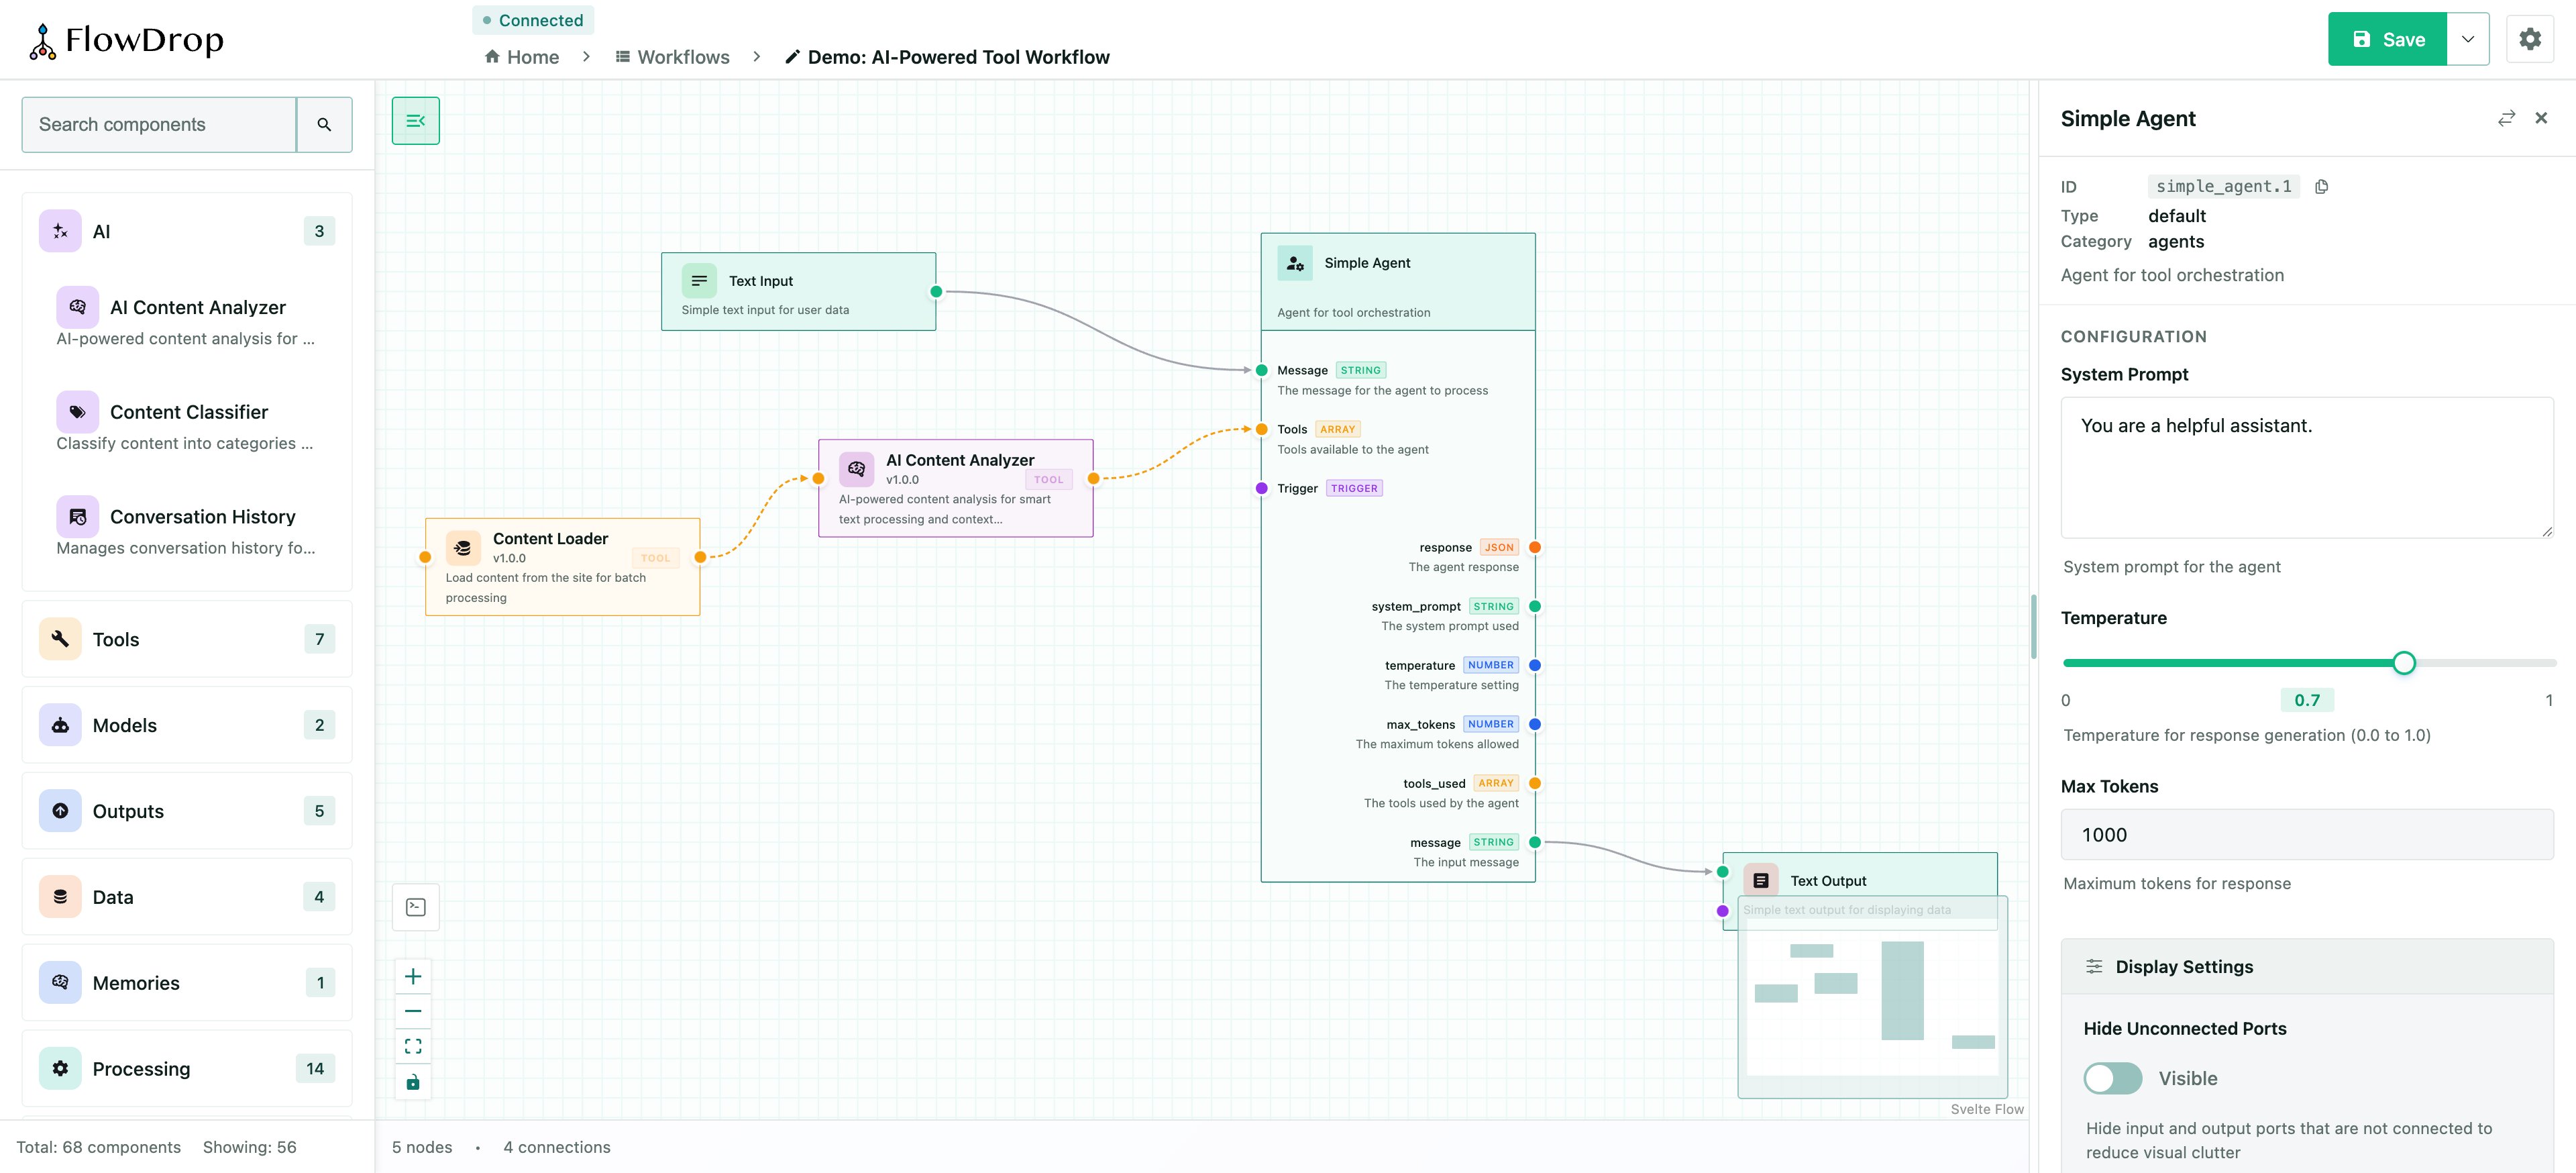
Connecting nodes
To define the flow between steps, connect nodes by dragging from an output port on one node to an input port on another. A line (edge) appears to show the connection. You can also use proximity connect — simply drag a node close to another, and FlowDrop will automatically suggest a connection. For details on port types and data validation, see Port System & Data Types.Configuring nodes
Click on any node to open the configuration panel on the right side. Here you can edit the node’s label, description, and any custom fields defined by its configuration schema. The configuration form is generated automatically from the node’s JSON Schema definition. Different field types (text, select, toggle, code editor, template) render based on the schema’stype and format properties.
Saving your workflow
Click the Save button in the toolbar to persist your workflow. FlowDrop also supports auto-save drafts so you never lose work in progress — drafts are saved tolocalStorage every 30 seconds by default.
You can control save behavior with event handlers:
Import & export
FlowDrop supports importing and exporting workflows in two formats:- FlowDrop JSON — the native format for full-fidelity round-trips
- Oracle Agent Spec — an open standard for AI agent workflows (oracle/agent-spec)
Keyboard shortcuts
| Shortcut | Action |
|---|---|
Ctrl/Cmd + Z | Undo |
Ctrl/Cmd + Shift + Z | Redo |
Ctrl/Cmd + S | Save workflow |
Delete / Backspace | Delete selected node or edge |
Ctrl/Cmd + A | Select all |
| Scroll wheel | Zoom in/out |
Next steps
- Node Types — visual catalog of all built-in node types
- Configuration Schema — define custom form fields
- Event System — hook into save, change, and error events